Tuesday, July 10, 2012

7-8.

Put the first coat of primer on the inside.  First we had to wash the boat to remove any amine blush from the epoxy, and step and mast and raise the sail to know what point we needed to paint the top of the mast.  Of course it happens to be the middle of a hot and humid, typical Florida summer when we are finally ready to paint, and this makes painting that much more challenging.  Turns out painting the hull was easy.  Because painting the inside with all its nooks and crannies is terribly hard.  


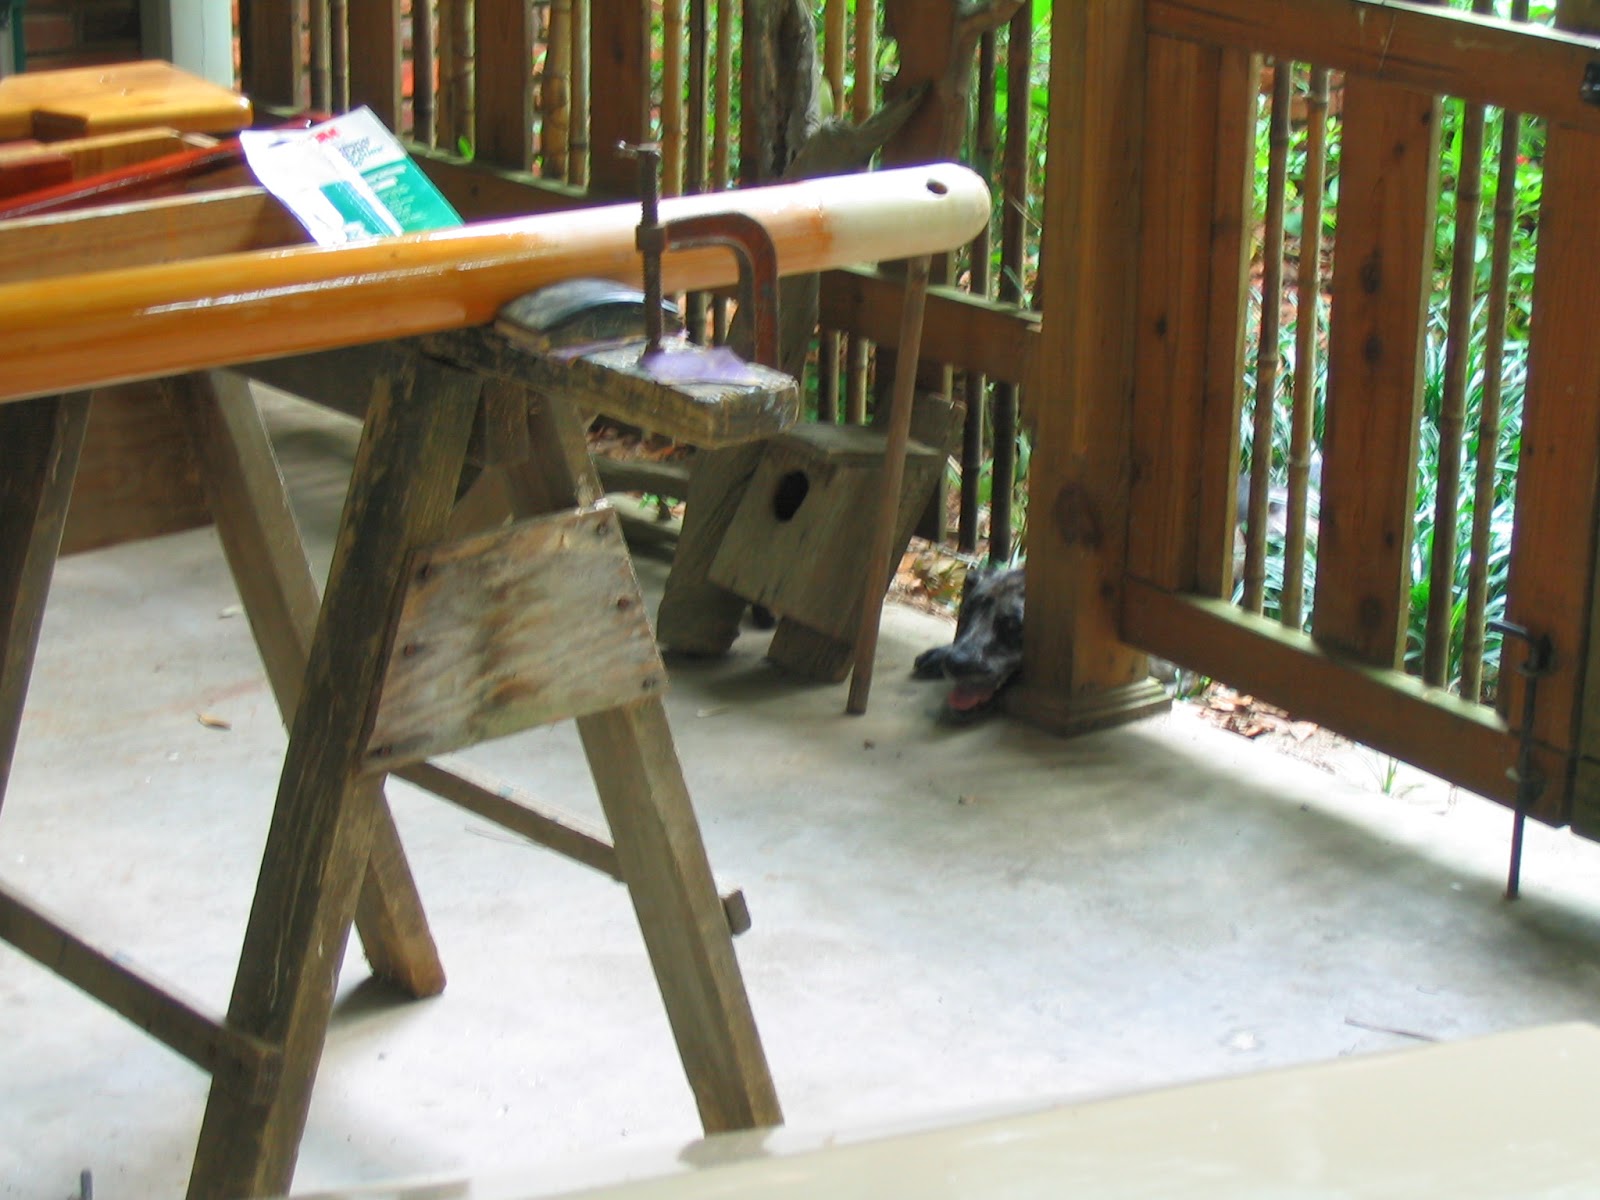
Working on the last gunnel.


The voyageur canoe style double gunnels, as awesome as they are, make painting extremely difficult.  It doesn't help that paint is drying so fast you can barely tip it out (looking into using a thinner for the next coat).  Needless to say, this first coat was a good practice!  We learned a lot about how we're going to have to attack the job, and we will keep learning, hopefully quickly, as the coats go on, so that the later coats will look somewhat as nice as the hull.


I will say my tape job on the maple turned out pretty well.  We're going to have to varnish the maple at least one more time, though, because Daddy accidentally sanded one of the quarterknees on top as he was sanding the gunnel and I accidentally sanded one on the bottom (out of view - we almost decided to paint underneath, but I wanted to keep them all wood).


Thursday, July 5, 2012

7-5.

Rolled and carried her out of the garage, flipped her over in the driveway, and slid the trailer back underneath. Her family fleet awaits her, tarped, in the background (left-16ft Cape Horn power boat, middle-1976 Drascombe Dabber, right- Blue Tang, home made Spindrift 12' designed by Graham Byrnes).


Seeing how the cedar is going to look with the color. 


Still have lots to paint, but with the hull done, it seems like a boat ready to sail.


Wednesday, July 4, 2012

July 4th.

Well, due to weather, work, and mess-ups we just now finished the hull.  This past weekend we put the last two coats of paint on the hull (we were going to stop at the end of the last can of paint, but when we started what was to be the last coat, disaster struck - roller hairs and debris in the paint sticking all over the hull).  So we went ahead and painted, then immediately ordered another can of paint and bought higher quality roller covers.  Now there are 5 or 6 coats of paint on the hull, I lost count somewhere along the way.  


This morning we attached the metal plate that guards the skeg.  We used marine adhesive, squeezed into the holes (that we had to drill out again because they weren't big enough, maybe all the coats of paint narrowed them down) and ran along the skeg.  This stuff is sticky and gooey.  I still have remants stuck to my fingers after a shower and multiple hand washings.


Where's Shadow?!


She has learned that we are more likely to throw the ball for her if she pushes it under the gate so it rolls over to the boat where we're working.  Today she patiently waited, peeking out from under the fence, while the ball sat under the sawhorses.


Screwed the plate on, then tried to clean up a bit.  Finer cleanup will have to be done when it cures with a knife.  This means we can flip the boat back over and start painting the inside!  No estimate on when we'll be done.  

Wednesday, June 13, 2012

6-13.

While we're waiting for paint coats to go on and dry, I took an afternoon to build Shadowfax a set of weave poles.  With obedience training going well, I decided she's ready for more fun.  She supervised construction and here she is checking out the finished product.  These are bigger than a standard set, but should be better for learning.  We've already started training - she's going to catch on fast. 


Next on the list of things to build is a pause table (she knows the command 'table,' but she's left a couple scratches on a table in the house, so I think it's time she got her own official table).  Then when the boat is finished I will have the time and tools to start on more detailed construction projects of see-saws, A-frames, cross-overs, and jumps (and have time for training of course)!

Depending on weather, we should be able to put the 4th coat of paint on the hull this weekend.  While sanding the 2nd coat, we were getting down to primer in spots, so we will have to go to a finer grit sand paper.  Today Daddy told me that the 3rd coat we put on Monday looks really nice now!  We should run out of Bristol Beige (hull color) after the 4th coat, so we'll flip her over and start on the insides after that. 

Monday, June 4, 2012

End of May

Don't know if I mentioned this in an earlier post, but I just came across the pictures of it.  Before we flipped the boat to start painting, we decided to add a block of maple on the end of the centerboard case to attach the mainsheet pulley to.  This is a deviation from the way the rigging is called for in the plans, so we'll see how it works!  It should hopefully simplify things and get ropes out of the way, plus I will be more accustomed to it since it is very similar to the way the Blue Tang is rigged.  


We have an advanced system of varnishing and painting parts to avoid runs and imperfections from drying on a surface.  It uses pieces of flexible scrap wire and a ladder, and it works surprisingly well (once you figure out how to hang the piece you've just painted most of without it touching anything in the process and then how to paint the remainder of the piece while it hangs and wants to swing back and forth)!


And we have put the first coat of colored paint on the hull!  My dad's out of town now, so we've paused for the next coat (we'll probably do three coats).  The paint dries very fast while we're working, so it takes two of us to roll and smooth to keep a wet line and a good-looking finished product.  Fortunately the hull is a pretty straight forward surface.  It will be more challenging with all the corners and different surfaces in the interior!


Sunday, May 20, 2012

5-20.

Finished the trailer modifications today.  We made these side supports to keep the boat from tipping sideways off the trailer since the bottom of the boat is so much narrower than the outside gunnels.  These will just stabilize the boat when it is tied down on the trailer. 


Then we loaded up the boat and rolled her out to the front yard again.  We slid it off onto the grass and rolled it over onto cement blocks to wash the amine blush off.  The boat is heavy, but I am able to tip it up on its side by myself - it's just like a big, unwieldy canoe.


After it was rolled over we got a good view of the undersides of the gunnels for the first time.  I didn't take a before pic, but there were a few places where we hadn't clamped the gunnels while the epoxy was hardening and there were tiny air holes between the side of the boat and the gunnels.  So we mixed up some liquid epoxy and poured that into the gaps, then filled with solid.


While the epoxy was hardening, we went ahead and finished painting the trailer side supports, sanded the rudder and rudder stock for another coat of varnish, and sanded and primed the lid of the aft seat compartment.
Earlier in the week, Daddy had put another coat of varnish on everything and put the first coat of paint of the bottom of the mast.  The top foot or so will also be painted white, along with the end of the lug (a traditional look).


He also primed the centerboard earlier this week, and on the blocks is the newly primed seat lid.


In the front yard, we washed the hull with water and scrubbers, then rolled it back into the carport.  We flipped it over outside, then Mom helped us carry it back onto the blocks.  We sanded the hull and gunnels, then I vacuumed and blew and dusted really well.


And we painted!  I rolled and Daddy followed to tip it out with a foam brush.  The paint was drying really fast, so we had a hard time keeping a wet line, and the first coat is not too attractive, but it is the first coat and will be sanded and our techniques will be perfected.


Now it looks like a real boat.


The first intruder on the fresh coat of paint.  Bugs are weirdly attracted to wet epoxy and paint.


Thursday, May 10, 2012

5-9.

Since the last post, we've been working on small projects and continuing to add coats of varnish to everything that needs it.  I made a spare belay pin that is longer - should be easier to work with, and I'll have an extra if one should break.  Daddy's been working on trailer modification - we ordered two more pieces to build supports on for the sides of the boat.  Below is just the aluminum piece attached to the trailer frame.  


This is an idea of what the support will actually look like, but it might be two layers of wood thick for extra strength, and it will be carpeted.


I also finally got a hitch on my car.  The guys that put it on knew that I had lived up north because the underside of my car is riddled with rust (after only 1.5 winters)!  They almost weren't able to bolt the hitch on because the holes where the bolts go were really rusted - but they said it should hold fine since they were able to attach it.

We also decided to get rid of the toe stubber at the aft end of the centerboard case.  Daddy cut it off and epoxied over the raw wood on the bottom, so that'll have to be smoothed out now.  In its place will go a block of maple that the mainsheet pulley will be attached to.  And we won't have to worry about a silly decorative toe stubber in the cockpit.