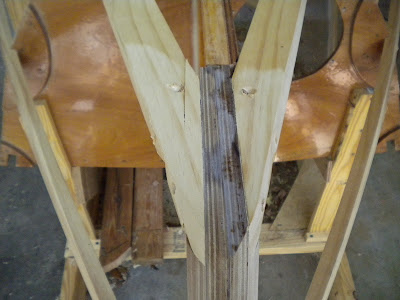
 Attaching the stringers was an adventure in patience. I did not relish this part and am glad we're finally past it, although there is more to come that will be very similar...
 After bending the wood we fit it into the notches and had to cut the ends to meet up with the bow at the right angles. This is tricky when you haven't had geometry since 7th grade, and when you were never good at geometry to begin with! Trying to visualize how two pieces of wood will meet up if you cut one at a certain angle is not in my grasp, so Daddy figured most of this out. Only one spot didn't come out right, and it was simply remedied by adding a little chunk of wood between the stringer and the notch in the bow (the stringer got cut too short, so it didn't come up to meet the notch). In the picture you can see where the extra piece of wood is on the left side between the stringer and the bow.
 Once the stringers were glued and screwed into place, we planed them down to the correct angles so that the bottom, chines, and sides will fit. The stringers are where the bottom, chines, and sides meet and what they are attached to, along with being attached to frames. Planing with Brian's electric planer is fun, lots of sawdust shoots out and it does the job fast. Just have to be careful to keep planing everything evenly and not to hit the frames as you pass by.

No comments:
Post a Comment