Thursday, August 30, 2012

8-26. Day Last.

We're still playing around with how to transport the mast most safely.  It can go on top of my car on the roof rack, or on the boat like this (to a corner), or to the center of the transom.  Traveling on the boat is a little scarier because it and the boat need lots of protection.  For storage, this works really well, though, down the center of the boat to the transom it makes a nice A-frame for the tarp to sit over.  


And the carport is finally clean and empty!  Just in time for a hurricane that didn't come.


Downhaul on the boom.  We played around with this, tried it aft of the parrel beads, but decided the forces worked out better with the downhaul fore of the parrel beads - of course we can change it again after we've gone sailing a few times and have a better feel of how it'll actually work.


Raised the sail a couple times to try things out, get situated, and loosen up the parrel beads and raising action.  It was breezy and the boat was ready to sail.


Also lashed on the shackle for the mainsheet attachment to the boom.


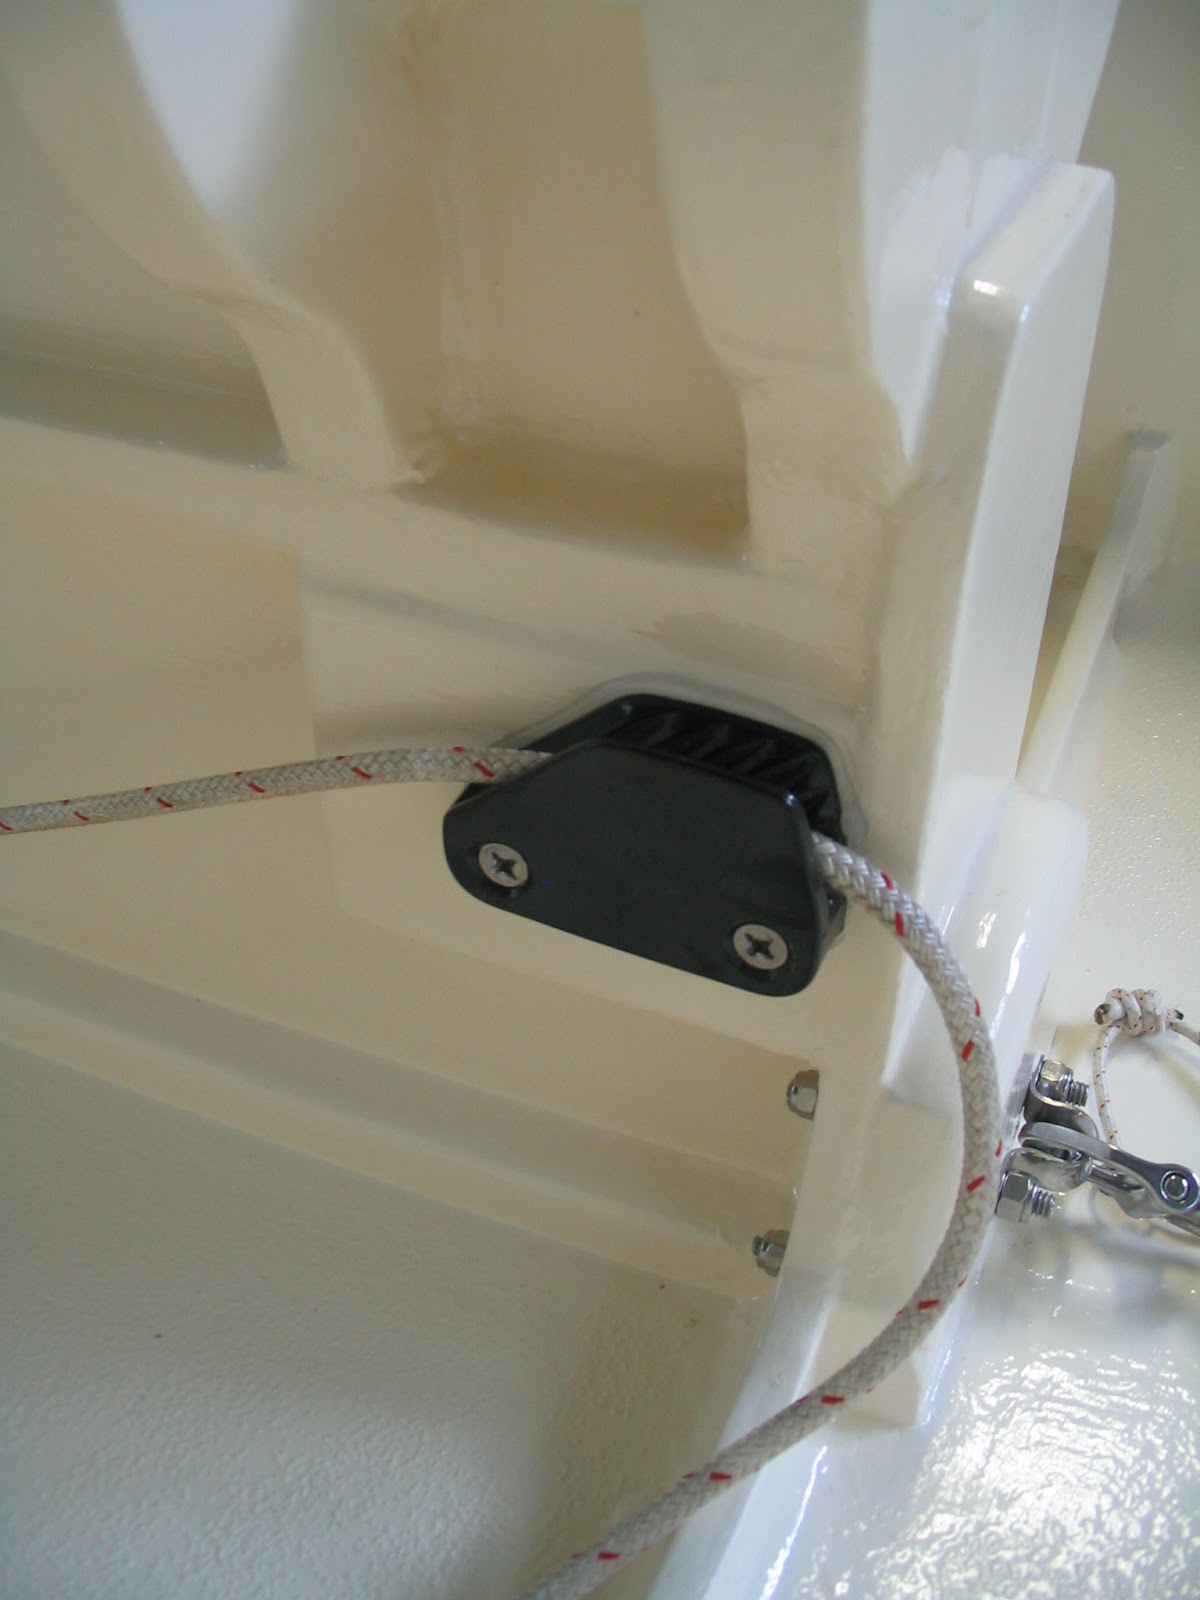
We have an ingenious system for getting the boom and mainsheet out of the way when rowing - you just unclip the pulley with mainsheet from the bottom of the boat, clip it into a little line tied to the gunnel, then tie off the mainsheet so it isn't loose, and it holds the boom over to either side of the boat, clear of the oars and your head.


Here's a close-up of the system on the gunnel.


And another view of the mainsheet and boom out of the way on the gunnel.


Lowering the sail.


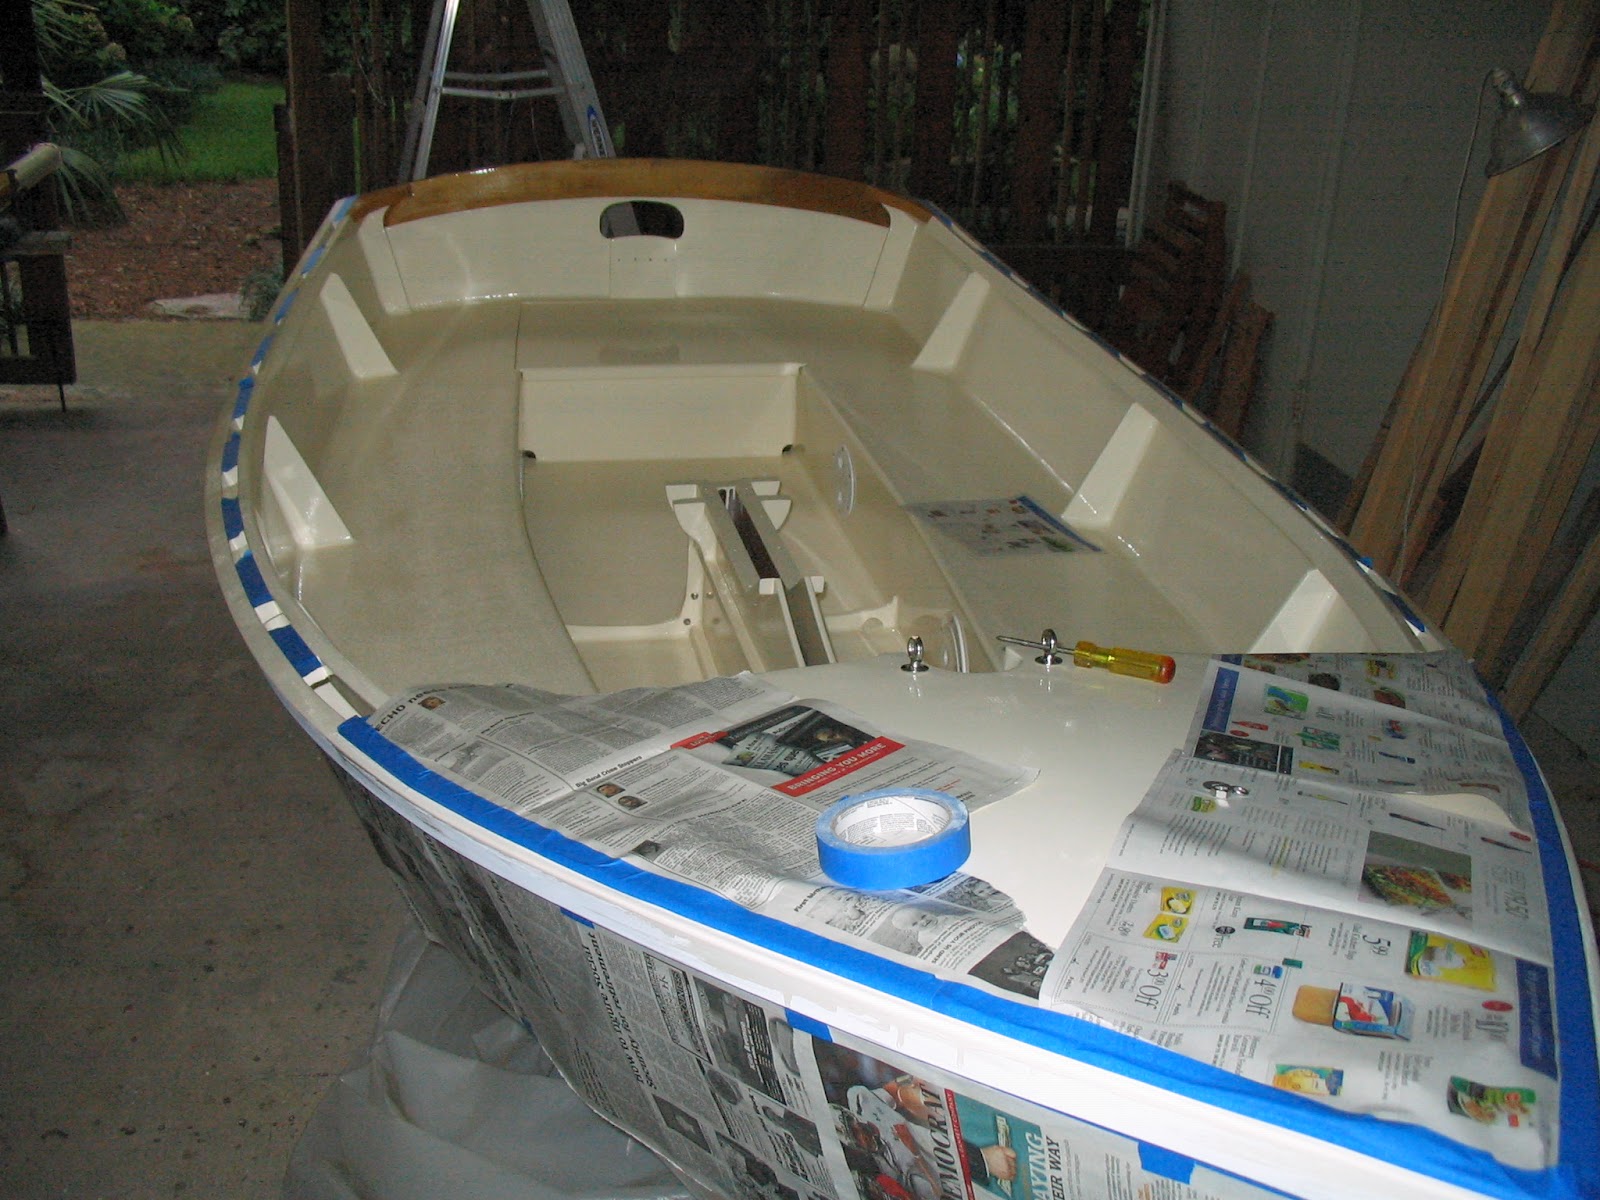
And all protected for the storm that didn't come our way.  Daddy also glued on the leather strips on the transom for the oars to rest on when not in use, and after that was done, the boat was officially finished and ready to sail.  There are going to be some adjustments, and actually I think we're going to have to re-do the foredeck porthole because we can't open it - the plastic warped some when I screwed it on because the holes didn't line up exactly - but that's can wait till we've launched.


Planning on sailing September 9, probably at Dickerson Bay in Panacea.  I'll post when we know for sure so that anyone can come see the boat if they want.  

Saturday, August 25, 2012

8-25.

Finishing touches are happening.  The rudder and rudder stock are all rigged up and ready to steer, pin included - holding the tiller in the rudder stock.  


Below is my favorite piece of wood on the boat.  Unfortunately not the best photo, but you can see the beautiful grain of the curly maple.  Different in each piece of maple, this one looks 3-dimensional from certain angles under the varnish.  A rippling water effect.  Thanks to Jerry from Germfask, MI for all of the curly maple!


Lashing for the mast, and the belay pin for the downhaul.


Yesterday, Daddy took advantage of a day without rain to put the last coat of paint on the gunnels, then load the boat onto the trailer, where she'll sit until we take her sailing.  Here's a close up the bow hole rather than using a big bolt like we were intending to for cranking up onto the trailer.


On the trailer ready to hit the water, almost!


I screwed on the second oar lock socket this afternoon.  We are going to glue small strips of leather down on the top edge of the transom to protect the wood where the oars will lay when tied and not in use.  We always hope to not have to use the oars, and I wish we could go sailing without them because they can really be a nuisance, but the places we go sailing here, we really need oars, especially for getting away from and to boat ramps, getting clear of weedy shore patches on Lake Hall, and for all the days when winds are iffy.


And I love this drill.  It's been the best - I hope my dad lets me keep it when the project is completed; I've never owned a drill.  It has been through a lot and is caked with epoxy, so it's super strong now.  

Tomorrow we're going to attach the mainsheet to the boom, then we're ready to go sailing.  I guess we're just waiting on Isaac to pass now... 

Monday, August 6, 2012

8-5.

Second coat on the gunnels.  They need at least one more coat, but we have plenty of paint, so I may just do two more coats if it ever stops raining.  I got this coat done in time for the afternoon rain, then we spent the rest of the afternoon screwing various things down, listening to the rain outside the carport (I like the rain because the frogs in the ditch behind my house go crazy and they're nice to listen to). 


Attached the gudgeons to the boat and slipped (or pushed) the rudder stock on - it's a tight fit, and extremely hard to pull off - but it fits and swings from side to side.  There is a concern about the corners of the pintles on the rudder stock banging into the transom when steering far to either side - we may have to address this once we've gone sailing with leather or something else to protect the boat.


No matter how hard I try, I cannot stay clean of paint, and red paint, even when you think it is dry on your hands, will rub off onto off-white paint, so I had to put gloves on when working on the centerboard cap seat.  Daddy suggested I could wash the paint off with mineral spirits, but I guess I'd rather only be doused in one chemical substance rather than two, so I kept the paint.  I should really just wear gloves while painting to solve the problem.     


We used pretty screws for the centerboard seat - I believe they are brass, but they could be copper - I'll have to ask my dad.  Got them all lined up with the screw head slots facing the same direction, then tightened the nuts with the socket wrench.


The line we're using around the centerboard was too short when tied using knots (the pulley it connects to was being pulled too high up so that it was scraping the frame), so we untied the line and seized it with twine.  


Now you can see the set up for the centerboard uphaul, with that pulley mentioned above close to the spine. When the centerboard is lowered, that pulley moves up closer to the frame where the nose of the centerboard is resting now, but doesn't move up past the frame into the centerboard case anymore.


With the rudder stock attached, we put on the tiller and rudder and I got in the boat to see how the tiller extension felt.  I think it's going to be fun having the extension to be able to move farther out on the gunnels while sailing and still be able to steer with a hand.
We also attached the stern seat box top.  It is a tight fit - all the coats of paint made the notches a bit smaller, but I figure it'll wear itself in as it gets used, and paint touch-ups may have to occur down the road.


A couple views of the boat looking close to finished!  She'll be floating soon we hope!  I'll let everyone know when and where we're launching so that anyone who's been following along that lives nearby can come see if they want to.  And if you live far away and overseas, there'll be photos of course.


Thursday, August 2, 2012

7-31 & 8-2.

With paint dry on the interior, it's time to scuff it up.  I did make the effort for the first time treading in the boat to take off my shoes, but that'll end the day we launch at an oyster shell riddled beach.  We sanded down the no skid a little too much I think (we had to try sanding it because it was so rough it would tear up skin and clothing), so it is a bit slippery, but there's still some grip.  


Putting in the port holes as I like to call them (inspection port is the technical term) was very difficult!  Especially the two tiny ones at the stern end (pictured above).  Below in the bow the port is much bigger, so I was able to stick a hand inside the hole to put on the washers and screw on the nut with one hand and plier inside the hole and the screwdriver on the outside.  Fortunately Daddy came home from work while I was putting these on and was able to help with the smaller ones.  My hand barely fits inside the smallest ones, so I had to delicately position my fingers with the nut over the end of the screw to get it started, then I held the nut with a socket wrench inside the hole while Daddy screwed from the outside. 


Then we attached various pulleys.  Below is the mainsheet block.  The way we attached it, it is removable so that we can get it out of the way for rowing.  Pull the loop of rope and the pin at the base unclips and the whole thing can be pulled to one side or the other with the boom to clear the center of the boat and the rowing seat (centerboard case).


Here is the centerboard set-up.  The pulley laying on the bottom of the boat (to the left) will be lashed to the nose of the centerboard that comes up and over the frame to the left of the picture.  Then the line comes down, through the pulley attached to the spine, back through the little hole in the frame (by the big circle opening), then up to the cleat in the photo below, where it is jammed to keep the centerboard up.  Then to lower the centerboard (which is weighted with lead), just unjam the line and it falls down.  


Tonight Daddy got ready to paint the gunnels.  We shall leave nothing to chance, or maybe we have learned to take all precautions against amateur paint mishaps as not to get burgundy paint on our previously painted surfaces that we went through so many troubles and coats to perfect!  And you can see that Daddy attached the belay pins for the mast (at the aft end of the deck).