We started this project a year ago today when we drew and cut the first frames out of plywood. Today we finished work on the trailer (minus a few more details), got the boat onto the trailer, and rolled it out of the carport! Shouldn't be too much longer now and we'll be driving to the coast for some sailing!

Last night we hand planed the edges of the 1x6's that are the top of the bunks for the boat to rest on in the trailer, and today we screwed them down onto their 2x6's that we had cut to the curve of the bottom of the boat and I glued together yesterday.

We haven't actually attached the bunks to the trailer yet, but clamped them down temporarily, enough to securely hold the boat so we could move it and stand in it. It's light enough for me to roll around.

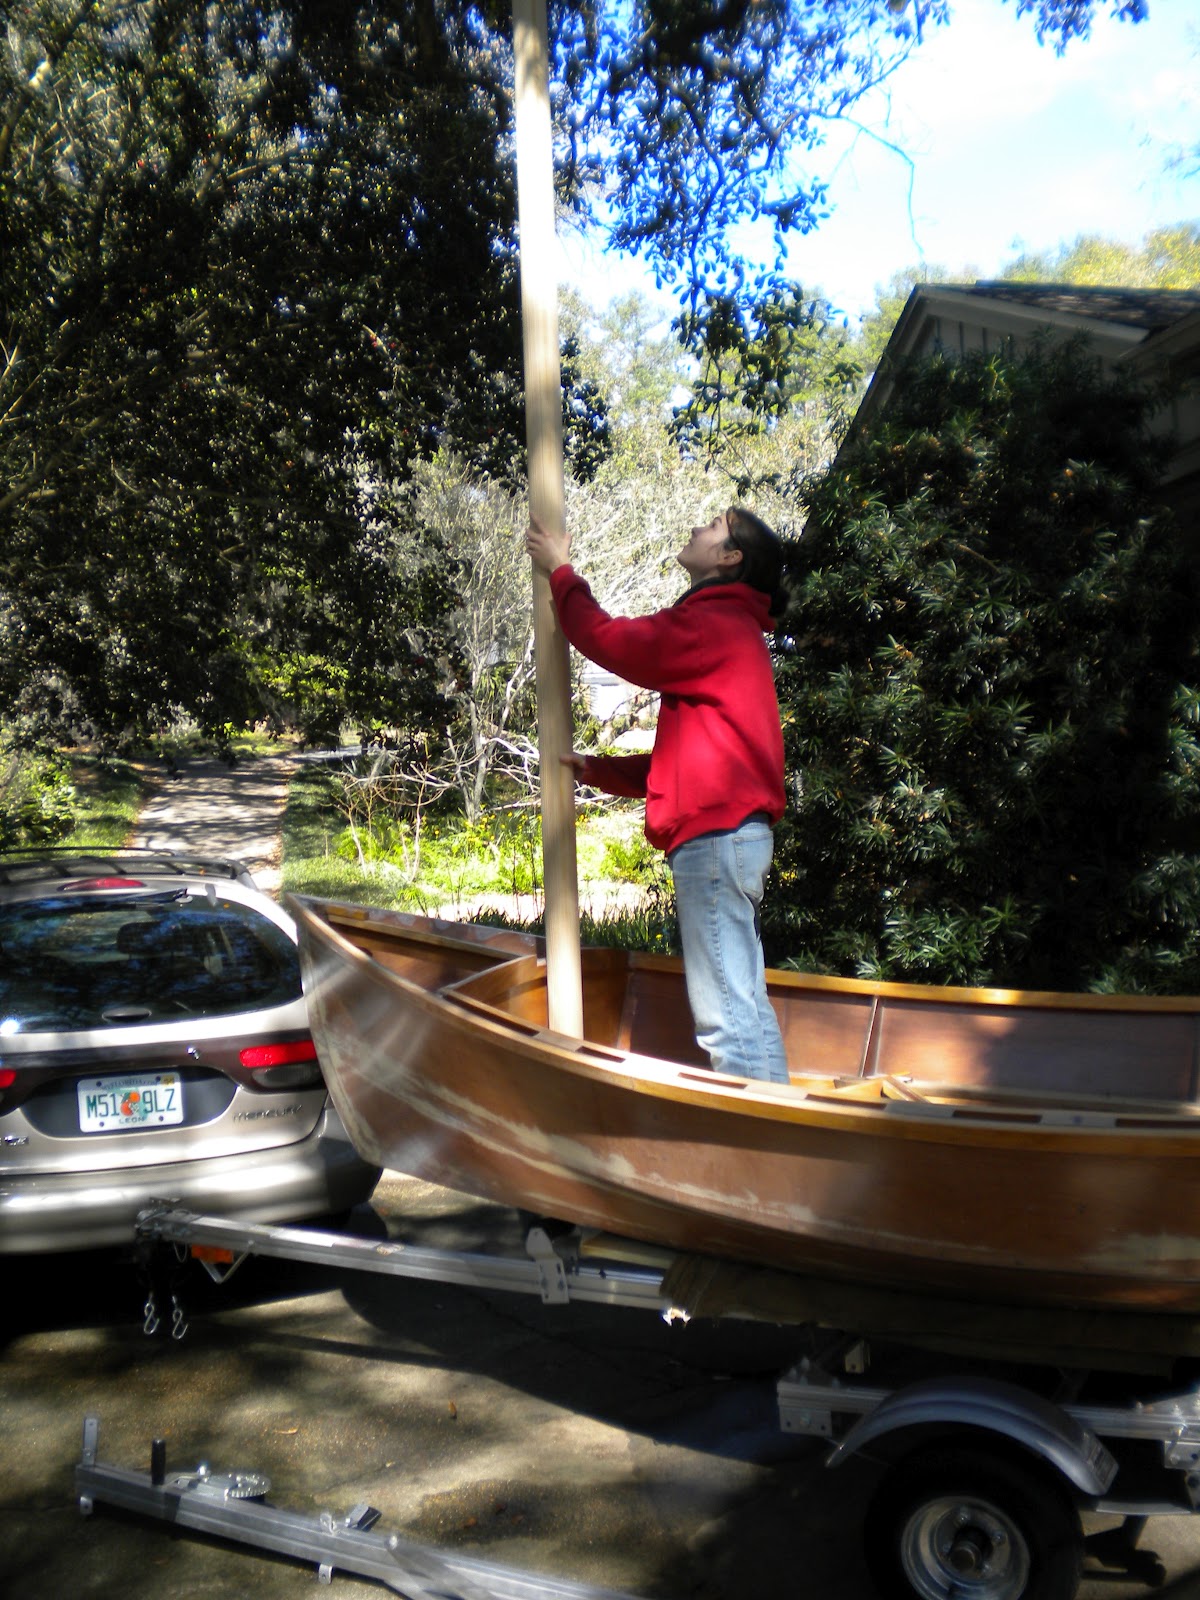
We put the mast up into the boat (picked up the mast from Walt yesterday - he had pretty much finished sanding it so it's nice and round) and marked where we needed to cut off a slice from the bottom to fit into our mast step. Once we had that done, we were able to put the mast in the mast step and see what it looks like up in the air - of course there's an oak limb up above that we kept running into.

We had to take apart the tongue of the trailer to put on the front piece with the wench and mast holder. We moved things around and experimented with angles until we came up with something that seems to work well - basically we wanted the wench to be pulling slightly down on the boat when it is tight, so we had to move the v-piece that the bow rests in way down and hammer its aluminum bars straight, then move the wench down farther and change the angle of the whole thing. Fortunately the trailer is really easy to manipulate and modify to our specifications.

Then we drilled a hole in the bow of the boat. We'll put a steel pipe inside this hole and a rope will go through the pipe to attach the wench strap to. This is instead of the more common sight of a big eye bolt attached to the outside of the bow that the strap clips into. Started with the regular drill...

...and had to switch to the big guns.

And now there's a big gaping hole.

And, we drilled the hole in the top of the mast for the halyard. Did some finishing chiseling and sanding on that too.

So great that you customized the trailer as well as the boat! I can't wait to see (and sail) it with you. You guys have done so much in a year ... and learned a lot too. Think you'll do other projects in future with all these skills? Trish
ReplyDeleteWow. They make it hard to comment, don't they? It takes me about 5 tries to get some letters I can type to prove I'm not a robot!! :) Trish again.
ReplyDeletehmm I'm glad to hear you're not a robot.
ReplyDeleteFuture projects...! I think we're going to be ready to relax a bit and just go sailing (and teach Shadow to sail). But I can definitely think of all kinds of fun and useful projects I'll be able to do with all that I've learned.
ps - the sail came (it's really nice) but we're not sure we are too fond of the pennant. Any interest in a little sewing project? No problem if not, but thought I'd ask!
ReplyDeleteWould love to make your pennant! Draw me a picture of what you want and pick out some fabric. I haven't seen any stores around here...maybe a craft store. Talk to you soon. Glad the sail came out well. Trish
ReplyDeleteSince my Falcon and I are both of Scots descent, I will be flying the Scottish Maritime
ReplyDeleteEnsign. It hasen't been in use since the Union in 1733. Also the red falcon on the mainsail. What is your pennant going to look like??
J
I'm still playing around with colors - but I like my dad's oystercatcher pennant on the drascombe - maybe something like that but with a swan figure. I'll send a sketch as soon as it's figured out.
ReplyDeleteI'll try to put some ideas into paint and post so people can see!