Friday, March 16, 2012

Color Poll.

Above you will notice a poll.  My dad and I have different opinions on gunnel colors, and I just wanted to get more opinions to make the decision even harder!  But hopefully it will help!

Here are links to see the colors:
Interlux   Under "Select Type" menu, chose Finishes.  Click on Brightside Polyurethane.  Scroll over the colors to see the names.
Pettit  Scroll down to the second page, at the top under "Topside" heading, the Easypoxy colors each have their name underneath.

Also consider the other colors of our boat, both from Interlux.  The hull will be Bristol Beige and the cockpit/seats/(deck maybe) will be Hatteras Off-White, Y4208.

Please take a look at the potential colors and let us know what strikes your fancy!  Feel free to comment with ideas, reasoning, etc.  It's exciting to have readers from all over the world - we'd like to hear from you!

The poll is scheduled to end in about two weeks, so get your votes in!   

3-16, and a lost and found.

This evening we drilled a hole in the foredeck for the mast.  It will have to be readjusted and shaped to properly hold the mast.  First we have to finish the trailer so we can get the boat back up there and put the mast up and down (too tall for the carport).  


 The hole saw wasn't quite deep enough to cut all the way through, so we had to go back with the sharp little knife to cut out the circle.


The plans actually call for a hole sort of like this for the mast to go through (not so close to the edge of the deck).  We did some practical redesigning to make rigging easier.  The hardest part of raising the mast when you have to get it through a hole is lifting it straight up the extra 2-3 feet to get the bottom through the hole in the deck - it is a tall, unwieldy lance.  So we decided to cut out the hole, open to the back so that the mast can be set into the mast step down below and then just pushed up to fit into the opening and lashed into place.  


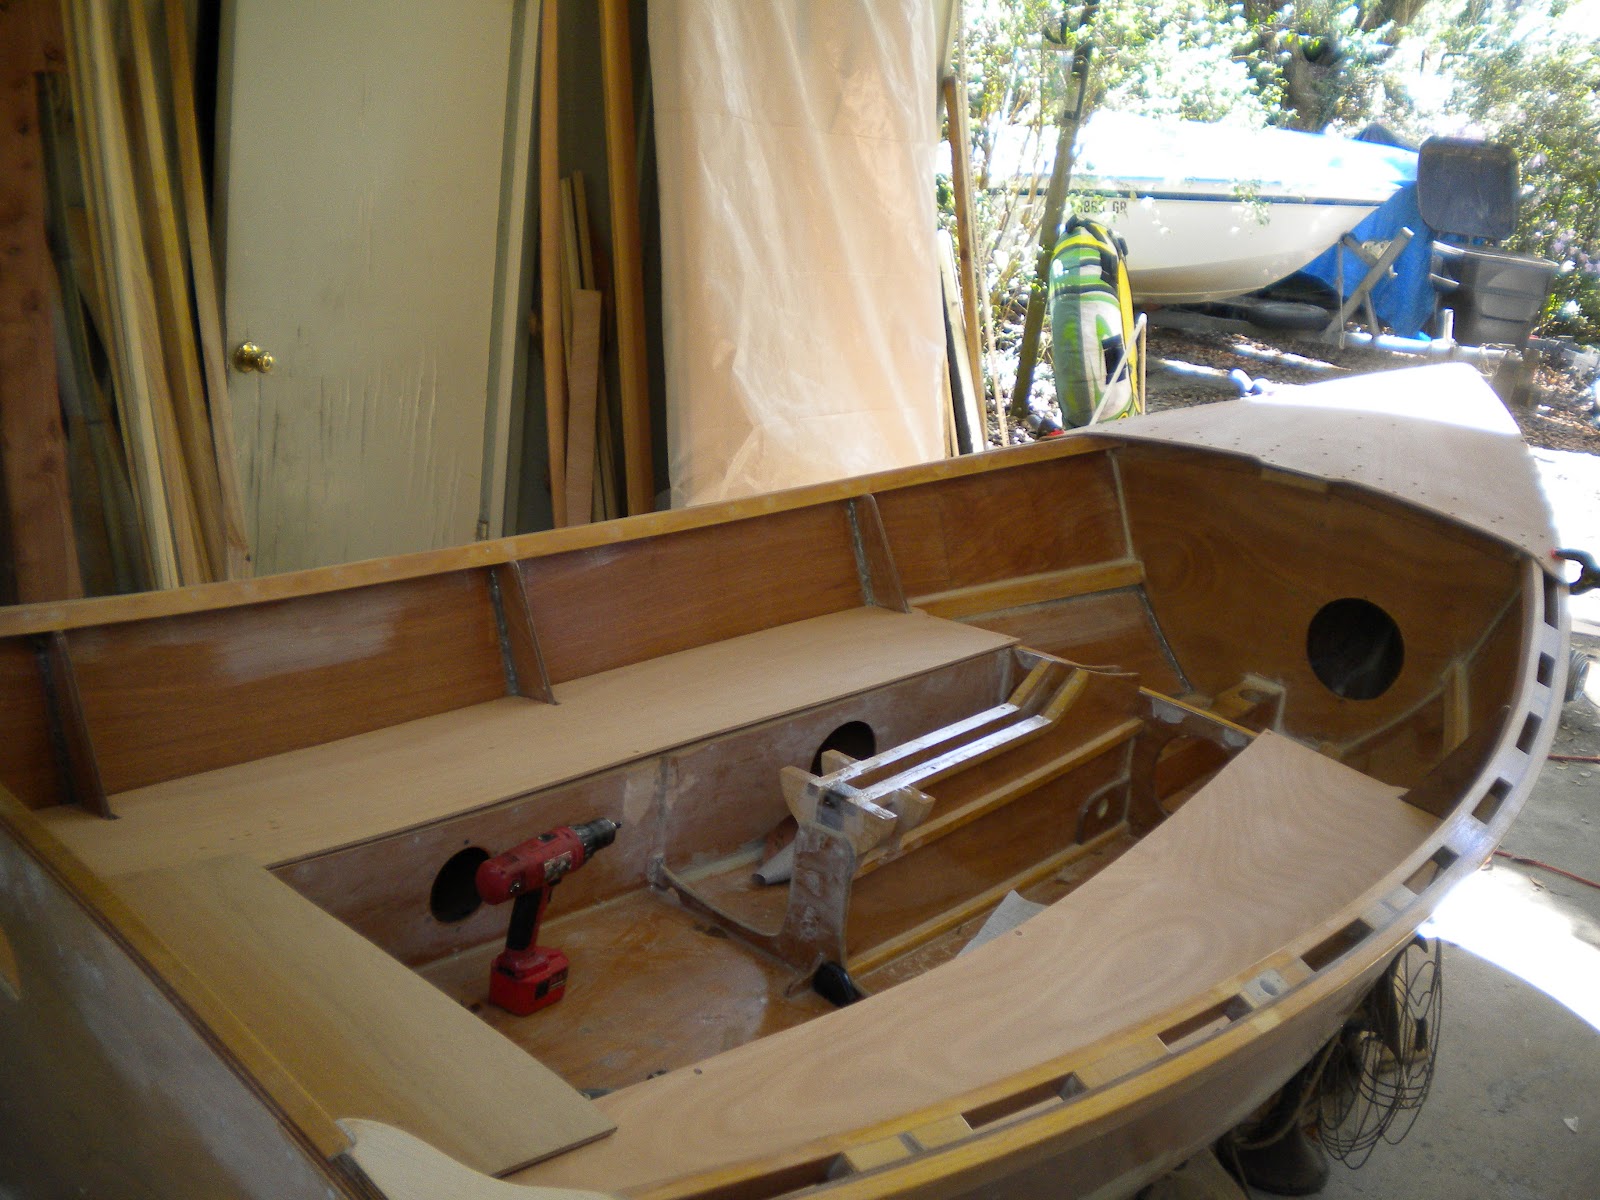
Also preparing to finish the seats. 


These are some old pictures that I found and realized I had missed putting them up.  This was gluing the lug together.  You can see the plugs inside the long pieces of wood (where the patches of glue are); besides either end and where the lug will meet the mast, the lug is hollow.


We tied it together with copper wire and zip ties (because we were running out of wire).  The zip ties worked ok, but we couldn't tighten them nearly as well as the wire - everything is slippery with epoxy and the zip ties are difficult to grab and pull really tight around a square, whereas the wire can be twisted and tightened with pliers (careful not to break it though)!


Tuesday, March 13, 2012

3-11.

Foredeck and seats are glued.  We just have the final aft seat compartment left to attach - it will be hinged to make a little storage compartment for a bailer, sponge, extra gear, etc.

Daddy and I screwed the deck down and nailed the starboard seat down last week, and then this weekend while he was out on a sailing adventure, I nailed down the port seat.  I learned from our mistakes on the first seat and the port seat is superb - only one small gap in epoxy between the seat and seat supports.  (On the starboard side we ended up with lots of little gaps and cracks - the seat wasn't held down well enough by the nails as the glue dried - so we'll have to go back and fill those in.)

Making use of left over glue as usual, I also filled all the screw holes and covered all the countersunk nail heads.  Then I also put fillets in on the starboard seat, and of course I made too much glue, so I quickly sanded along a frame inside the cockpit and put some fillets there before the glue was getting too tacky to maneuver.  Filleting is tedious and takes a lot of patience because you are trying to get the glue to form a perfect curve with the tip of a plastic stick, while also not leaving behind a huge mess on either side which would require more hours of sanding to clean up later.  I am finally perfecting my filleting technique, learning how to use the curved end of the stick to evenly spread and smooth the glue and the square end of the stick to scrape up edges, while keeping a rag at hand to constantly wipe the stick clean and then finish cleaning the edges of the fillet.


Now there is lots of sanding happening.  Started this weekend and will continue through the week until there are no more apparent spots of epoxy showing.  Only then can we proceed and put the next coat of liquid down, followed by another sanding, another coat of epoxy, until we have 3 coats applied.  


Tuesday, March 6, 2012

3-6.


Some pennant brainstorms - background color is just made up, but would theoretically match/coordinate with the gunnel color, which is not yet definite.  We are thinking of a teal color, but it could still end up blue.  


Flying or swimming trumpeter swans - Trish, any input about sewing - too difficult, too many seams, etc? (The swimming swan would just be the swan and background, I got lazy with paint and didn't crop out the water because I probably made 10 of these).  I'm thinking the swan would just be a simple cut-out of flying or swimming shape - nothing detailed. 


Or if she's Cygne, French colors to grace the mast.  (My dad thinks this would have too many seams and would be too heavy to fly well). 


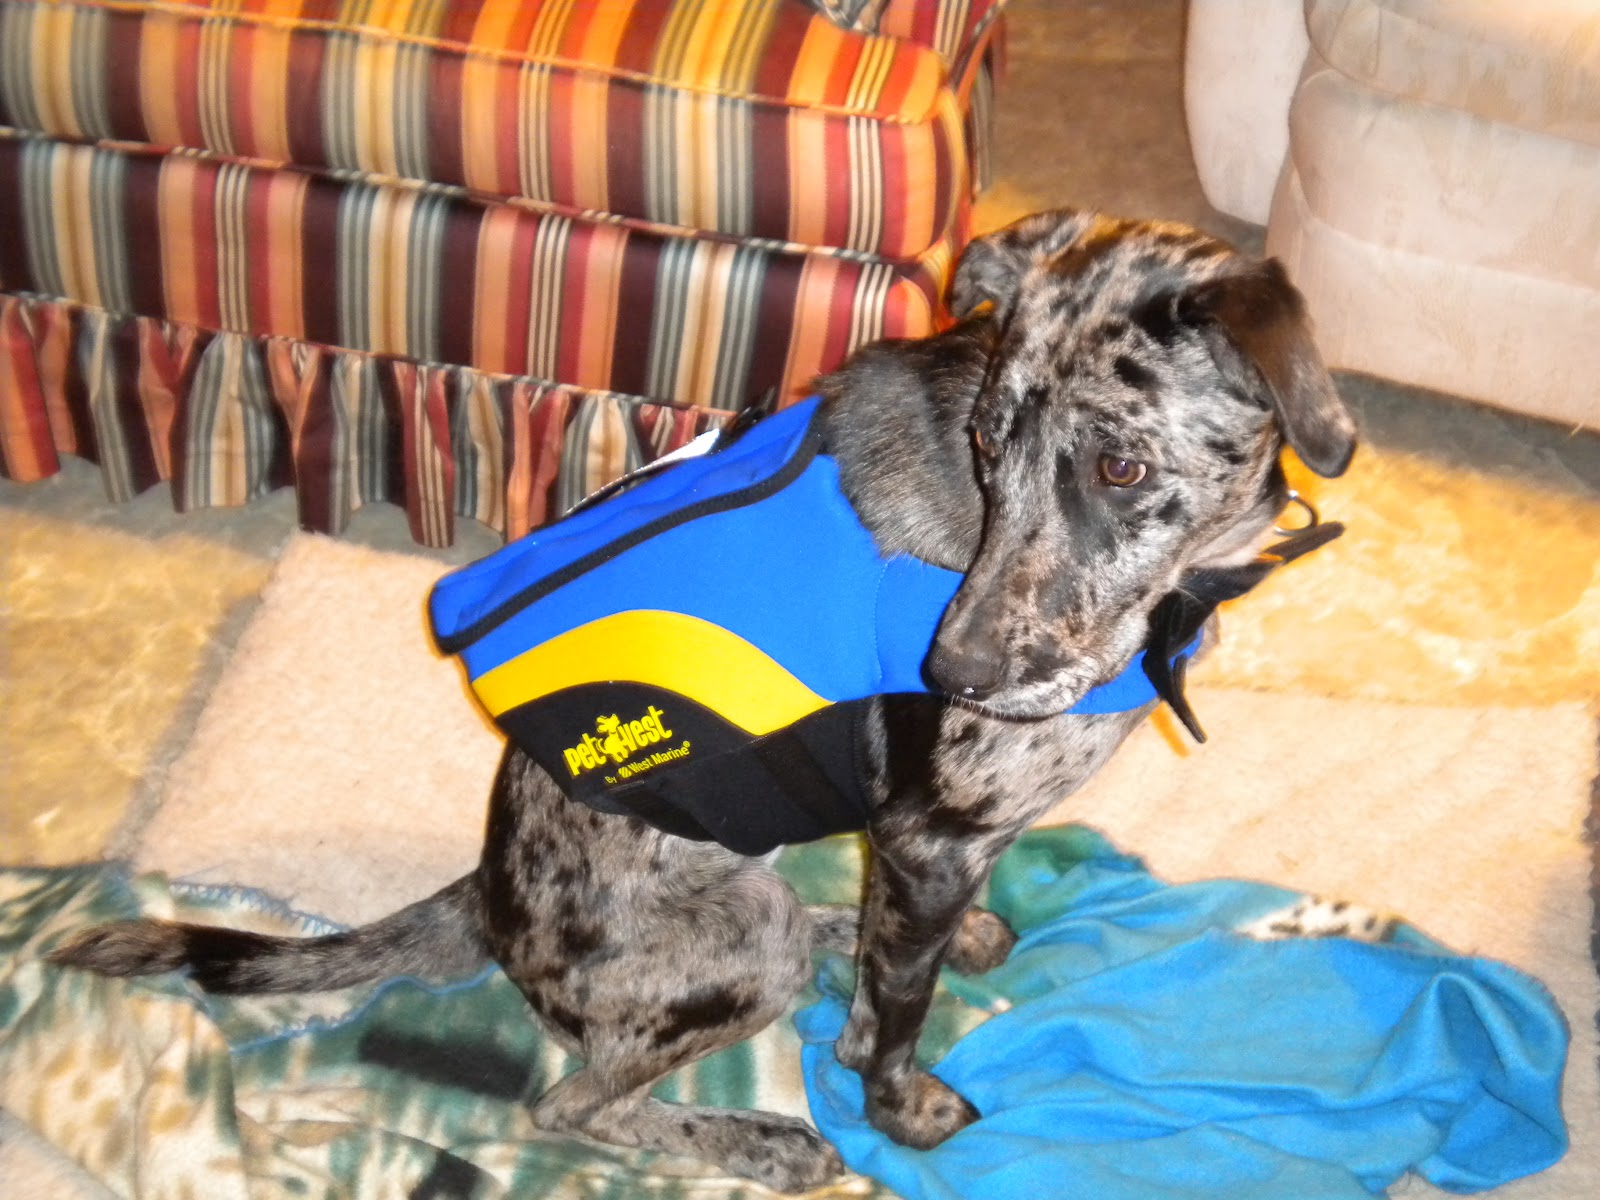
Today Shadowfax and I went to West Marine for supplies, and came home ready for sailing!  Shadow wags her tail when she sees her PFD already.  We went to the beach yesterday and had a blast in the waves (well she did, the water is still too cold for most humans).  I think she'll be a boat dog!


We picked up paint today - 2 quarts of primer and 1 quart of Hatteras Off-White 1-part polyurethane for the cockpit.  Ordered Bristol Beige for the hull; it should be here Thursday, although we won't be ready for painting that soon!

After shopping, I sanded the deck and seat undersides and put on last coats of liquid epoxy.  Yesterday Daddy had cut out the last piece of seat - for the compartment - and had put on coats of epoxy, so we were ready to glue today.  And we glued and screwed the foredeck down.

And I forgot that we actually have one more construction project - it will be important to build the boom.  We have our lumber cut for the boom, just have to glue it together and then plane it to shape.  Tomorrow will most likely be spent gluing the seats down.  

Sunday, March 4, 2012

March

The last of the construction projects.  

We cut out the foredeck last week and Daddy made doublers out of cypress to go under the deck where it overhangs in the boat (one for either side of the king plank).  The oak king plank is also set to go under the deck, and today we pre-drilled and dry fitted the king plank and deck.  


Today we also cut out the seats.  We had cardboard cut-outs for port and starboard seats and the deck that we traced onto the plywood.  The cardboard cut-outs being far from perfectly shaped, we then had to go back and forth from boat to saw, trimming off edges, widening notches, etc until the parts fit right.


Everything is coming together nicely.  The deck and seats are ready to be glued, although we will wait to glue the seats until we have finished the stern seat compartment that will hinge open - that is just a rectangular piece of seat with hinges at the back and a latch at the front for a little storage compartment.  This will have to fit in with the side seats, so we'll make sure it all goes together before gluing.  In the meantime, these new pieces of wood have to get their coats of liquid epoxy on surfaces that will be out of reach once glued, which we'll be working on this week as the weather is warming again after the downpour and cool air we had yesterday.  

Monday, February 20, 2012

2-20 repeat.

We started this project a year ago today when we drew and cut the first frames out of plywood.  Today we finished work on the trailer (minus a few more details), got the boat onto the trailer, and rolled it out of the carport!  Shouldn't be too much longer now and we'll be driving to the coast for some sailing!  


Last night we hand planed the edges of the 1x6's that are the top of the bunks for the boat to rest on in the trailer, and today we screwed them down onto their 2x6's that we had cut to the curve of the bottom of the boat and I glued together yesterday.


We haven't actually attached the bunks to the trailer yet, but clamped them down temporarily, enough to securely hold the boat so we could move it and stand in it.  It's light enough for me to roll around.


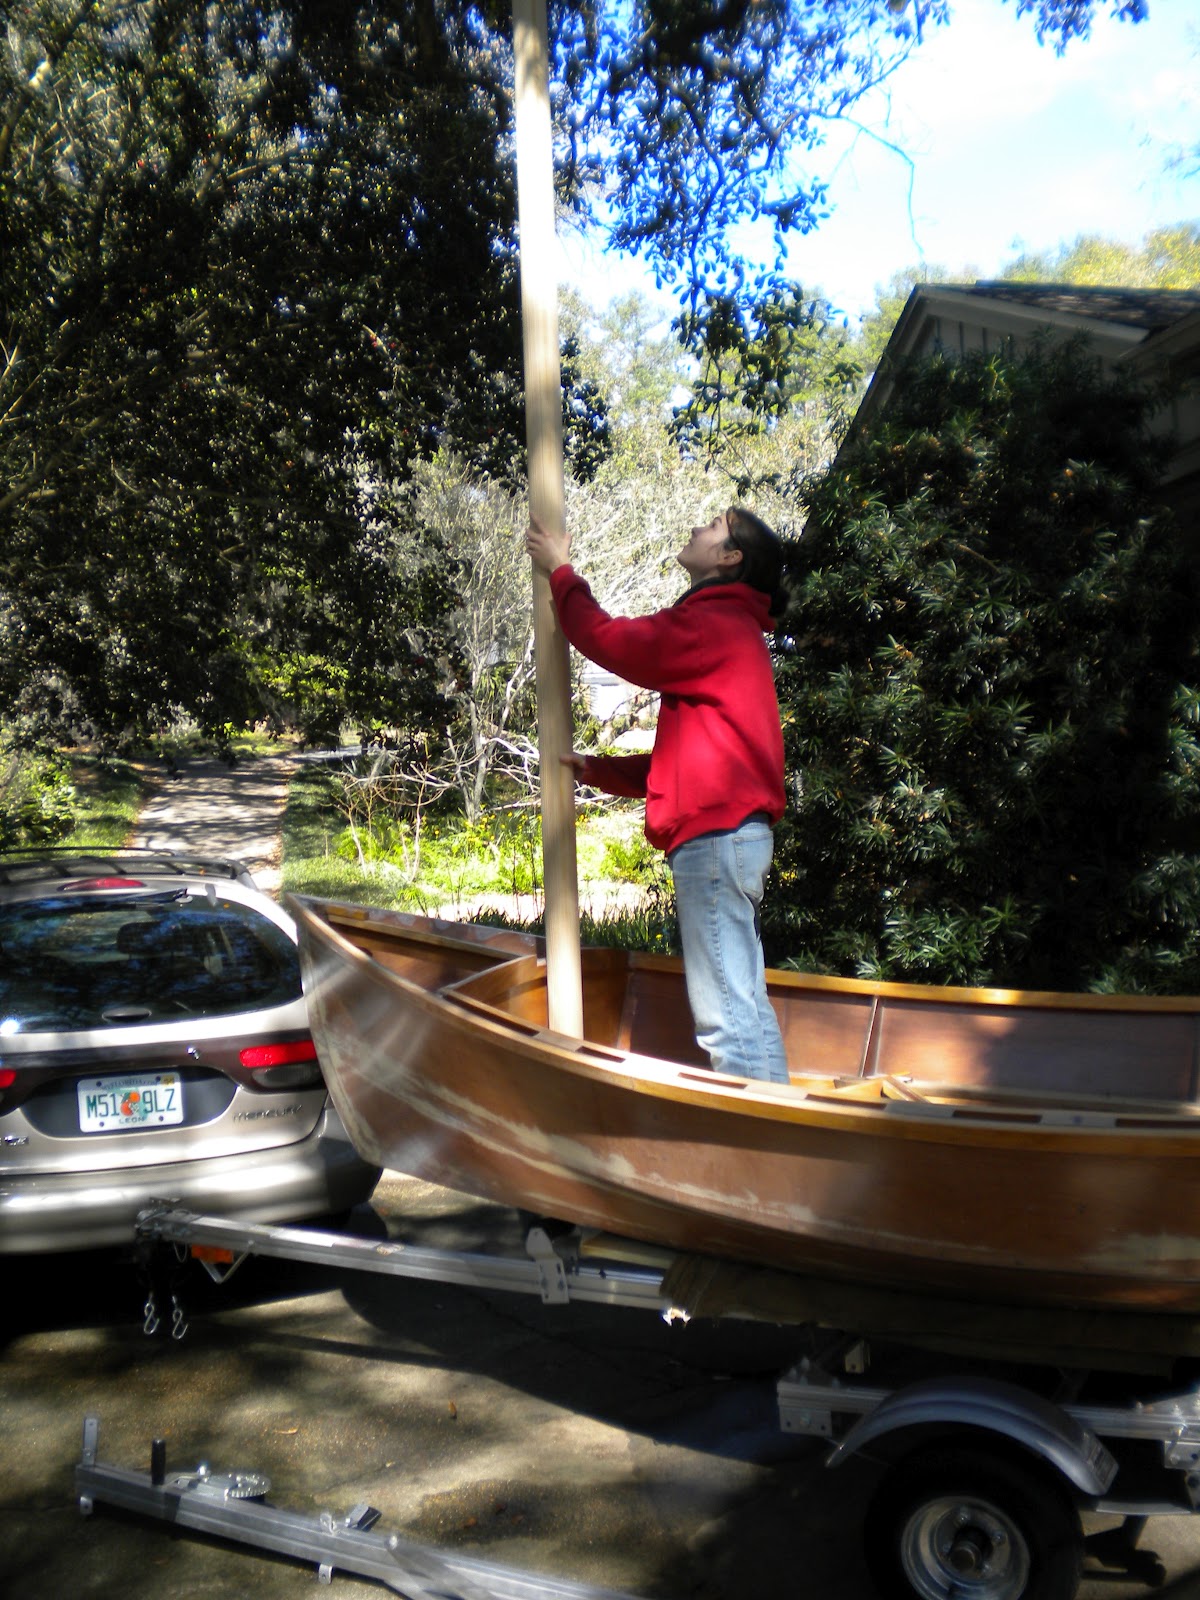
We put the mast up into the boat (picked up the mast from Walt yesterday - he had pretty much finished sanding it so it's nice and round) and marked where we needed to cut off a slice from the bottom to fit into our mast step.  Once we had that done, we were able to put the mast in the mast step and see what it looks like up in the air - of course there's an oak limb up above that we kept running into.


We had to take apart the tongue of the trailer to put on the front piece with the wench and mast holder.  We moved things around and experimented with angles until we came up with something that seems to work well - basically we wanted the wench to be pulling slightly down on the boat when it is tight, so we had to move the v-piece that the bow rests in way down and hammer its aluminum bars straight, then move the wench down farther and change the angle of the whole thing.  Fortunately the trailer is really easy to manipulate and modify to our specifications.


Then we drilled a hole in the bow of the boat.  We'll put a steel pipe inside this hole and a rope will go through the pipe to attach the wench strap to.  This is instead of the more common sight of a big eye bolt attached to the outside of the bow that the strap clips into.  Started with the regular drill...


...and had to switch to the big guns.


And now there's a big gaping hole.


And, we drilled the hole in the top of the mast for the halyard.  Did some finishing chiseling and sanding on that too.

Sunday, February 12, 2012

2-12.

The trailer came via UPS this past week in four big boxes.  My dad put together the frame and attached the tongue in the living room one evening, and today we took it outside to continue the assembly.  With winter finally back, we can't do any epoxy work, so it's a perfect time for the trailer.   


Just the frame, tongue, and springs.  You can see my trusty, ancient laptop in the shade at the bottom.  This computer should have died by all technological standards at least three years ago, but it stalwartly carries on and can still run a CD with a PDF of the assembly instructions, which we are following exactly.  We are using a torque wrench to tighten most of the bolts - it's fun and easy to use, I had never heard of these before.


Axel is on (although we were missing four nuts to attach two u-bolts - either never made it in the bag, or very possibly fell out during shipping since there was a hole in the bag and a box was torn and beat up).  So we have to get those before we go driving anywhere...!


We did all the wiring - hooked up the tail lights and running lights.  Trailer isn't even finished and we already have a light to fix, talk about a bad omen for a trailer.  One of the bulbs was broken during shipping.
We also attached fenders and wheels, then the shade encroached and we got cold, so we stopped for the day.  Rolled it out of the yard - it rolls great.